


When we started the Boquete Canyon Village Clubhouse renovation, the pool was always going to be an integral part of the whole project. When we began the main pool's concrete structure was already in place. Our work would not only involve finishing the original pool, but also adding an additional dip area.
The original design was to have a round whirlpool at the end, raised out from the rectangular main pool. The whirlpool would be eliminated in the new plans and turned into a flower bed.

We began by excavating the new dip pool

So the new dip pool will be added to the original rectangle, creating an "L" shape.
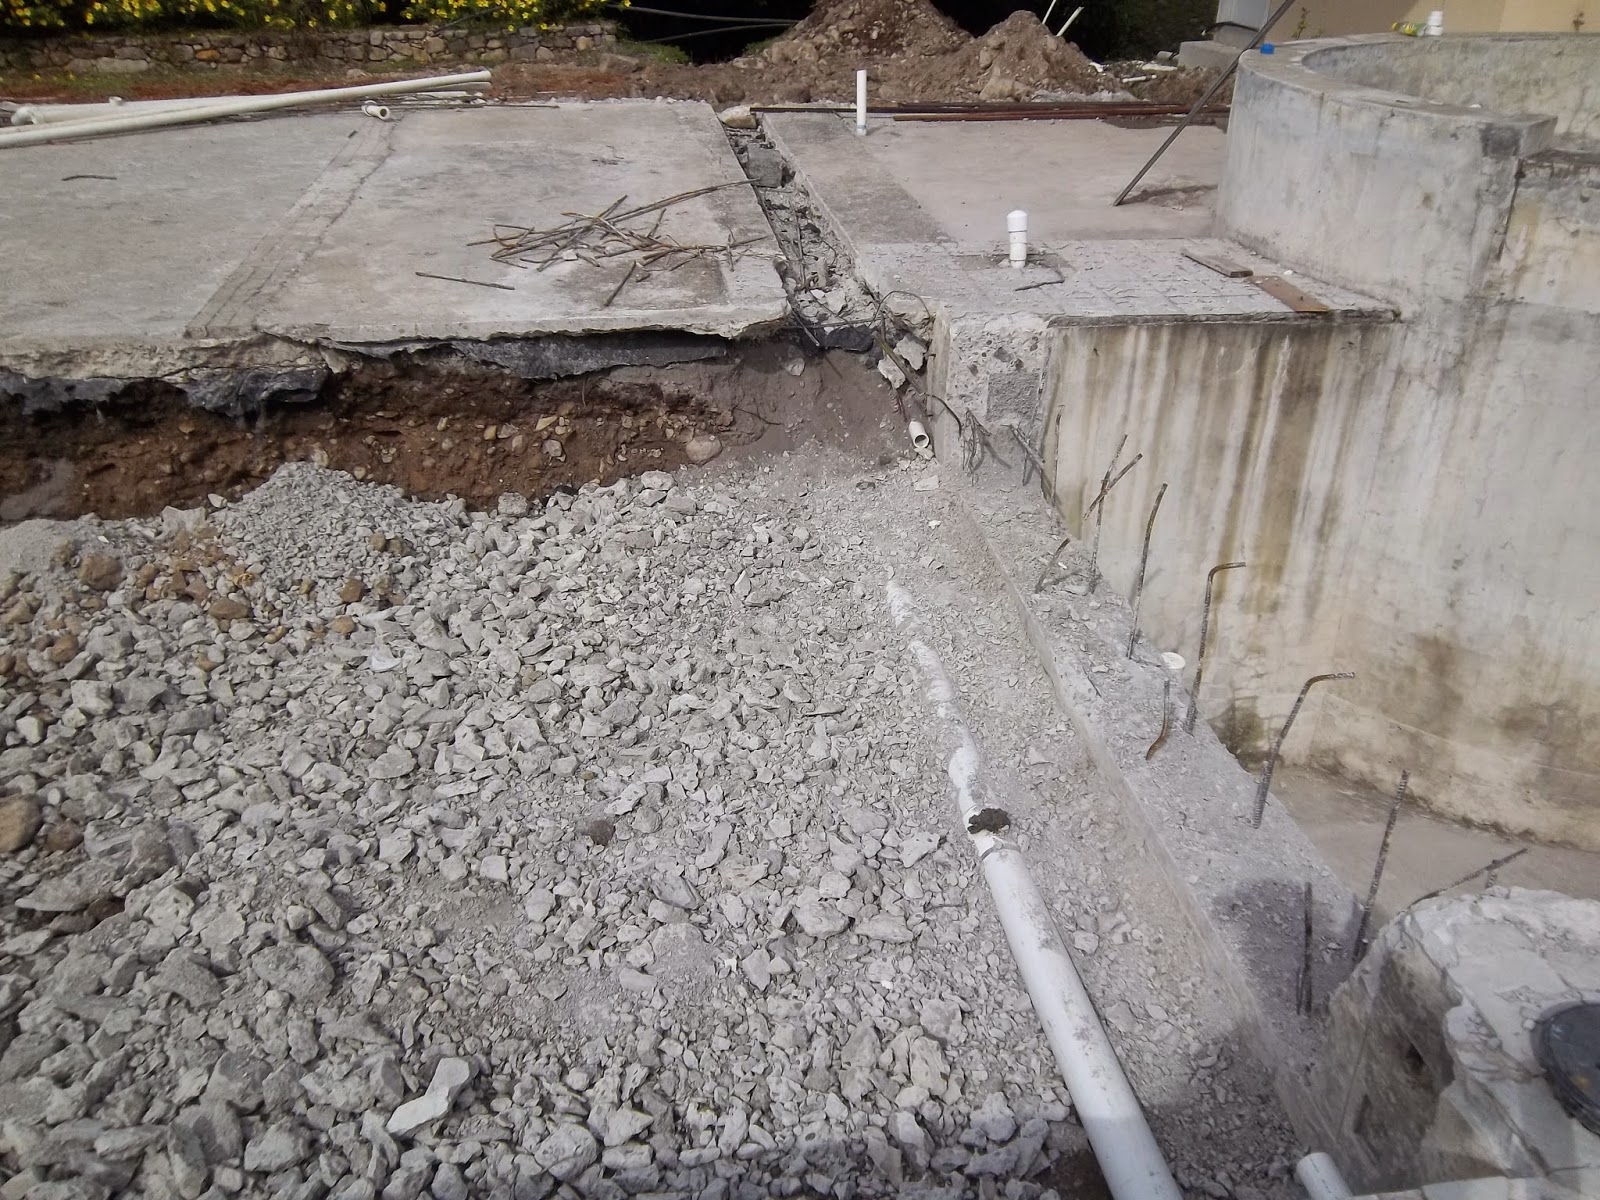
Breaking up part of the 8" thick concrete wall of the original pool was required to join the two together.

The new additional pool would only be around one foot deep when finished.

Back in the main pool and the original steps where very steep.

So we extended these all outwards to make them easier to use.

We based the new dip pool with gravel, then added steel

The new dip pool would also have two return jets plumbed in to them.

The finished extended steps made a big difference to the feel of the stir case.

Dip pool steel was added ready for both the slab, and continued up ready for the future walls.

Here, we began pouring the concete. Sika was added to the mix to help make it water tight.

Sika bond (the bright blue) was painted on the old wall so that the new slab was adhere better to the old concrete.

The poured slab is finished off.

The next step was to form and pour the walls.

The walls were also re-enforced with concrete and Sika was added.
Check out the next part of the pool progress to see the finished pool.
No comments:
Post a Comment